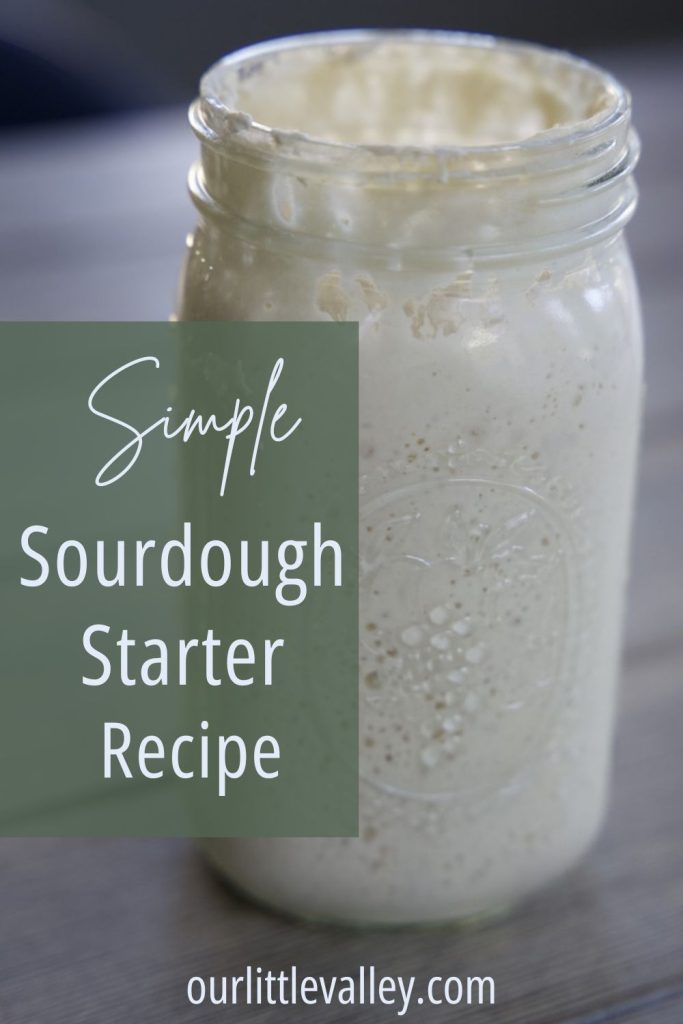
Sourdough– are any other words needed? Well maybe hot out of the oven, fresh, warm ,melt in your mouth, most delicious bread you have ever had?! You get my point here, it’s delicious and my family literally hasn’t bought store bread in 6 years! I don’t say that to sound ahead of the game- I’m just here to be friends and share any cooking tips or tricks I’ve learned along the way.
Today’s tip- You can make your very own sourdough starter! I have an easy to follow from scratch recipe. With only two ingredients- I can having you making from scratch sourdough bread in 1 week from your very own sourdough starter! Want to try? Okay great let’s do this!
This post may contain affiliate links. If you use these links to buy something I may earn a commission, at no additional cost to you. As an amazon affiliate I make a small commission on qualifying purchases.
Why you should make a sourdough starter
If you don’t have a neighbor or friend who has a “seasoned” sourdough starter this is the perfect way to get your sourdough dreams going! Six years ago in the middle of covid I decided I wanted to try my hand at sourdough. Since we were in the middle of no socialization I had to make my own. Six years later my starter is more like a low maintenance house pet than a kitchen staple. So if you don’t have a friend who can share their starter, make yours with me and then you can be the friend sharing starter! At this point I have shared mine with over 30 people, and it’s traveled to over 8 states- it’s wild how far my little starter has traveled. Sharing really is caring!
How hard is this going to be?
Now before we get started, if you are nervous, let it go. Trust me. I am the queen of letting a new skill I want to learn overwhelm me. In truth I often feel like I have to master a brand new skill fast- or what a failure I must be. What a lie- the world of social media has heighten this in so many ways, making us believe everything we try and do must look beautiful and effortless. This could not be further from the truth.
Let me free you from this as I work to let myself be free. We are not perfect, nor are we expected to be, so lets let that go. Lets let this new skill, hobby, lifestyle be freeing. Lets get messy together and above all have fun! The end product will be delicious! Maybe along the way you will even learn to let go of doing things perfectly and instead do things because you enjoy it, maybe even love it!
Best of all- sourdough requires no perfection. It is forgiving and incredibly difficult to “mess up”. Sometimes with baking you need the exact measurement for every ingredient, but the beautiful part here is you do not need “exact” for anything. Trust me, you are going to love this. Okay- let’s get started!
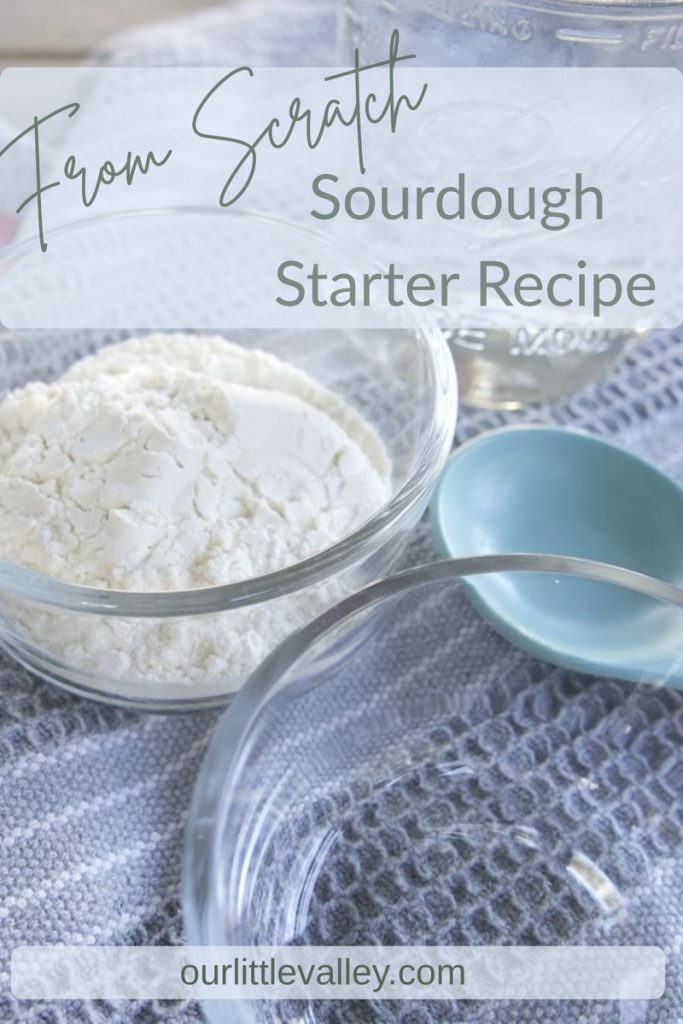
To get started you only need a couple of things:
- All purpose unbleached flour (I like the King Arthur Brand)
- Room Temperature (Filtered) Water
- A small glass bowl (about 1c in size)
- A small icing spatula
- Tea towel
**Filtered water- We have well water and so I just use our tap water. If you are on city water it is recommended by the masses (ie google) to use filtered water. To keep this as simple as possible, if you have city water, I would just use water from your filtered fridge dispenser or Brita filter etc. No need to go out and buy something crazy for this.
How to make the sourdough starter from scratch
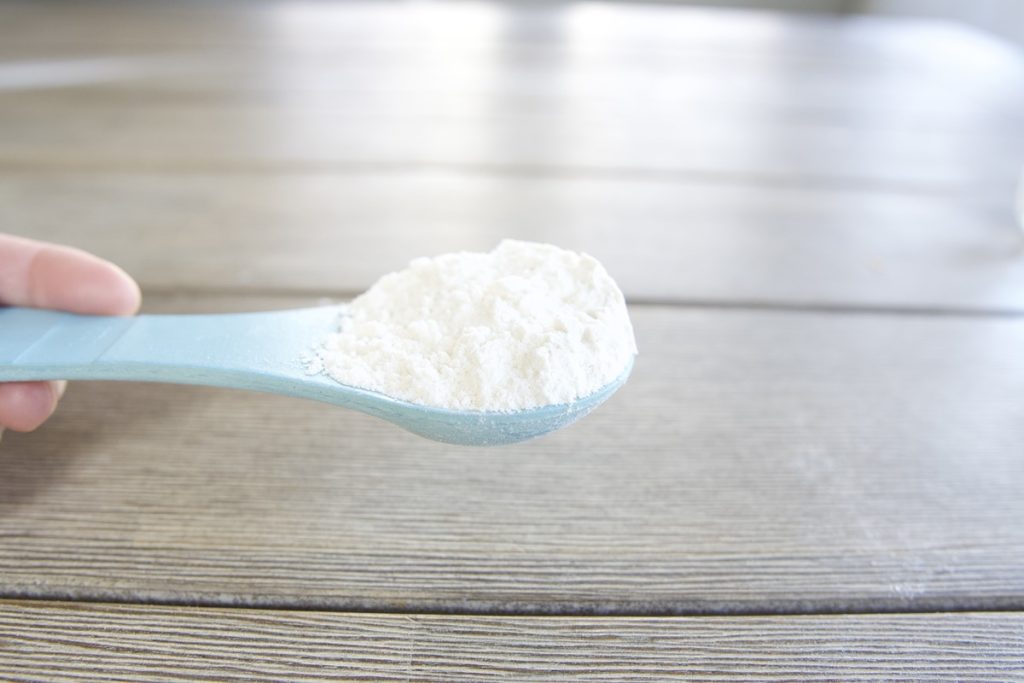
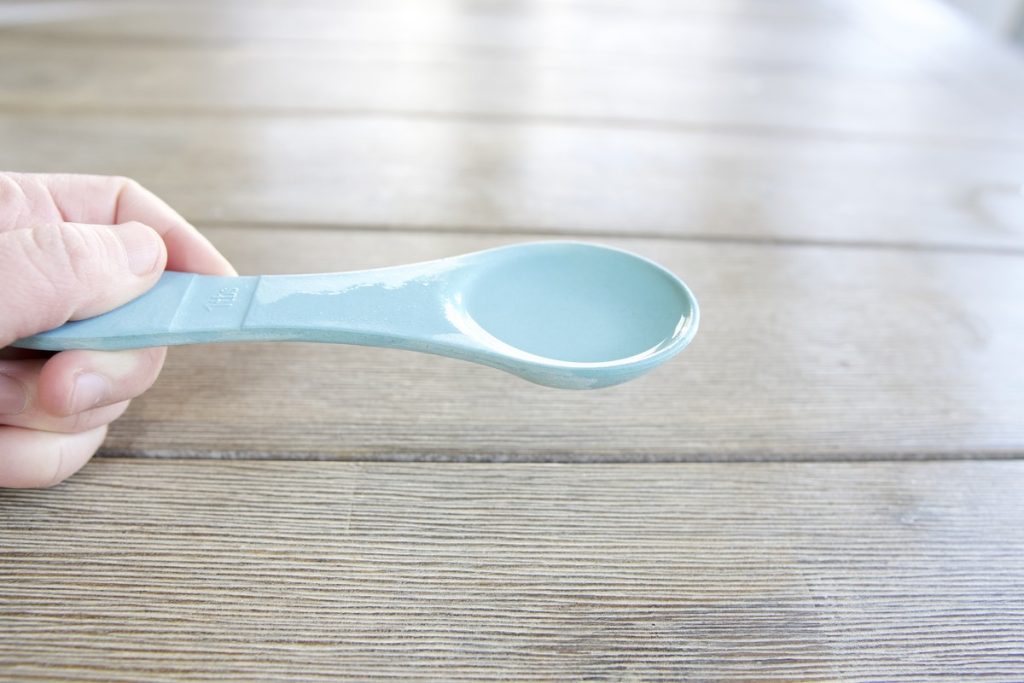
In your small glass bowl combine 1 heaping tablespoon of all purpose flour with 1 tablespoon of room temperature (filtered) water.
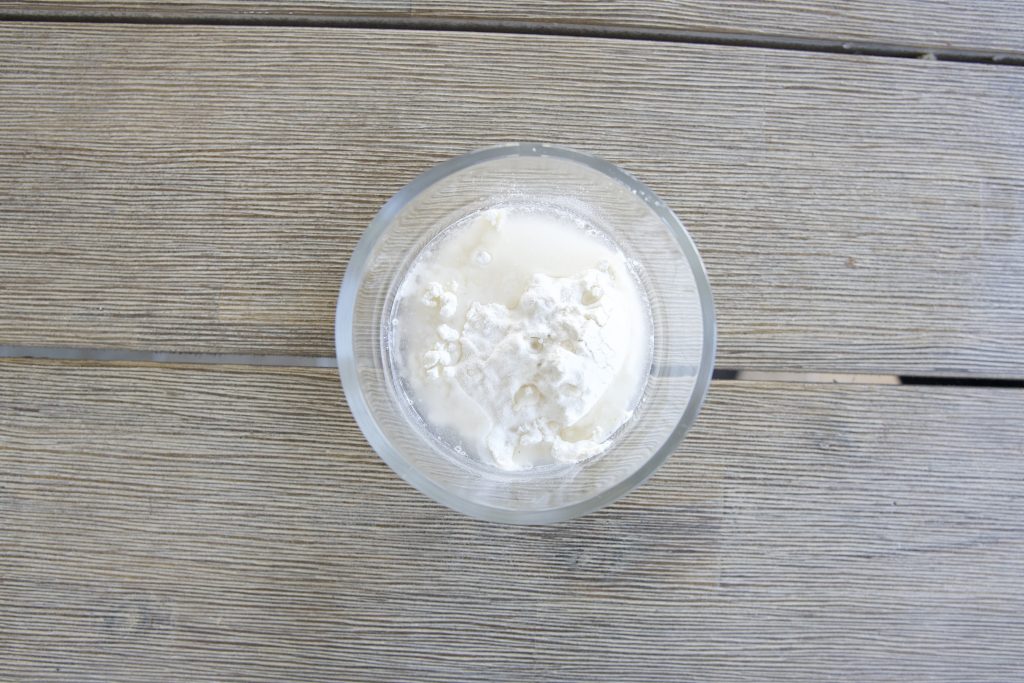
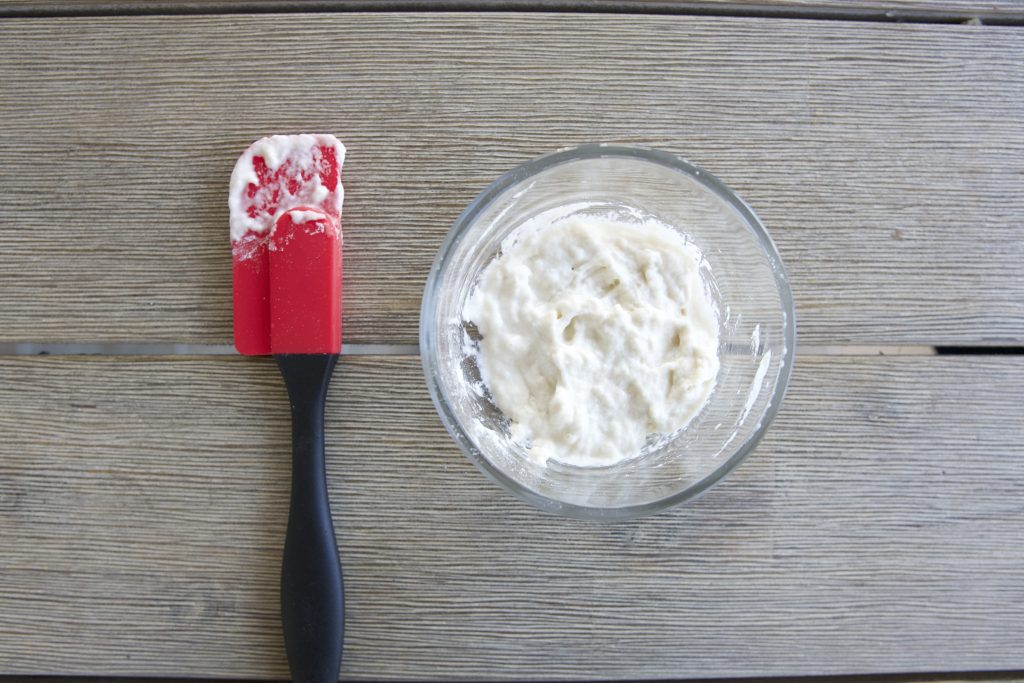
Mix the two together with your small icing spatula. You are going for a thick pancake-like batter consistency. Cover with tea towel and leave overnight at room temperature.
Day 2
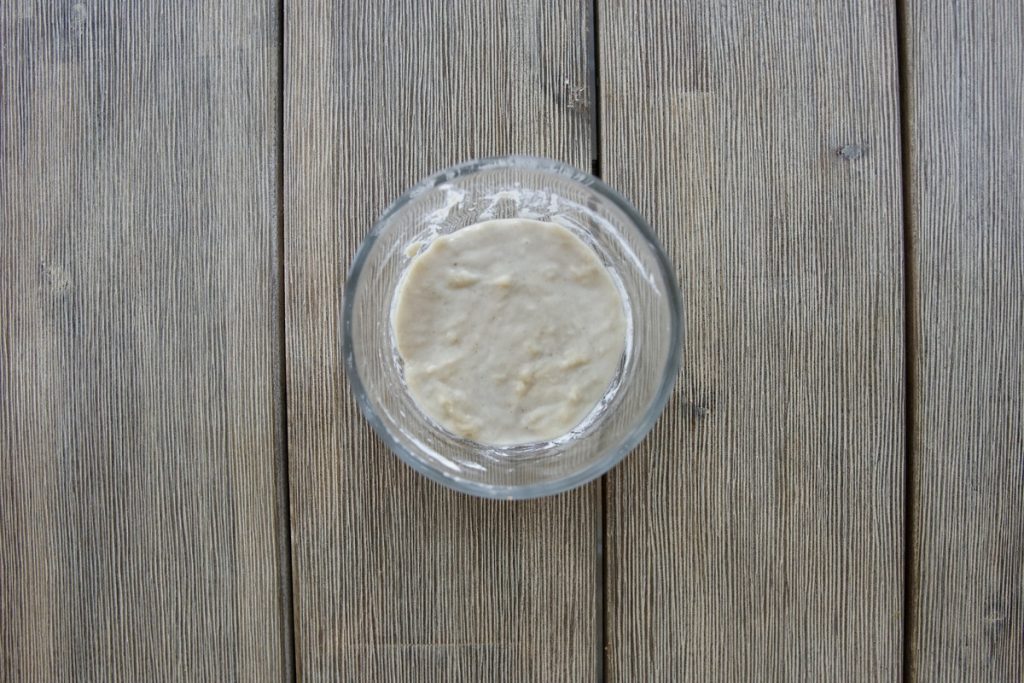
The next day you will discard (remove) 1/2 of the mixture from the bowl and throw it away. With the remaining 1/2 mixture you will feed it (add to it) 1 heaping tablespoon of all purpose (unbleached) flour and 1 tablespoon of room temperature (filtered) water. Mix this together to achieve the thick-pancake-like batter consistency. Cover with a tea towel and let it sit overnight at room temperature.
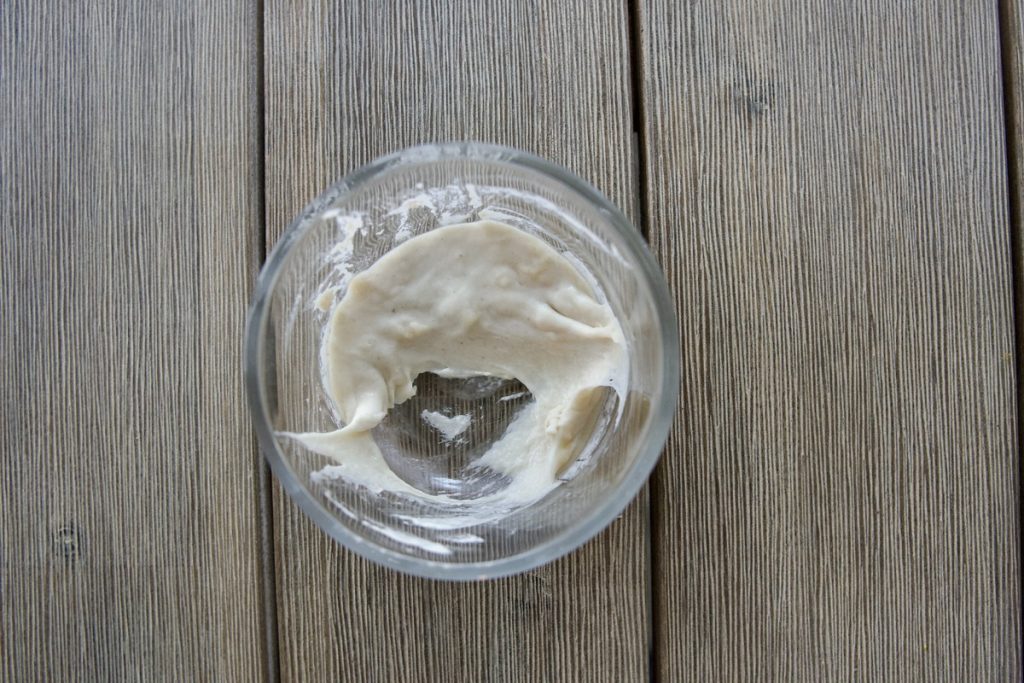
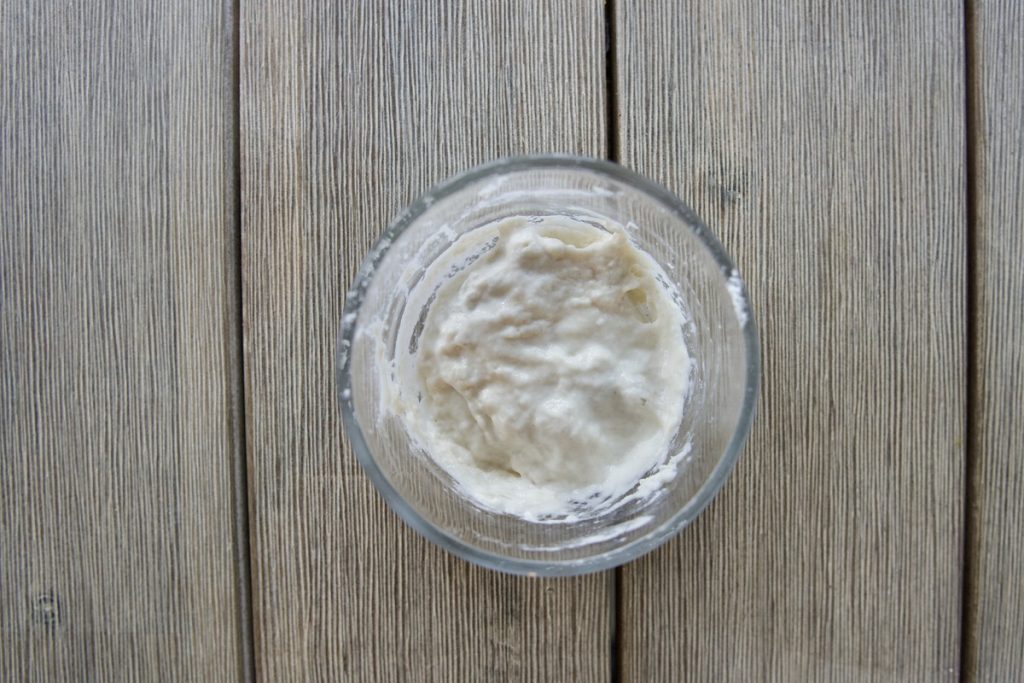
Repeat these steps
You will repeat the steps of discarding 1/2 of the mixture before feeding it with flour and water each day. Around day 4 or 5 you may start to smell an “off” smell or alcohol-like smell. The flour and water are in the fermentation process and oftentimes halfway through the starter becoming fully developed it will have that smell. Once the starter is fully developed (usually around day 7-10) you will notice that it will smell sour- like a sourdough bread.
Day 4 or 5
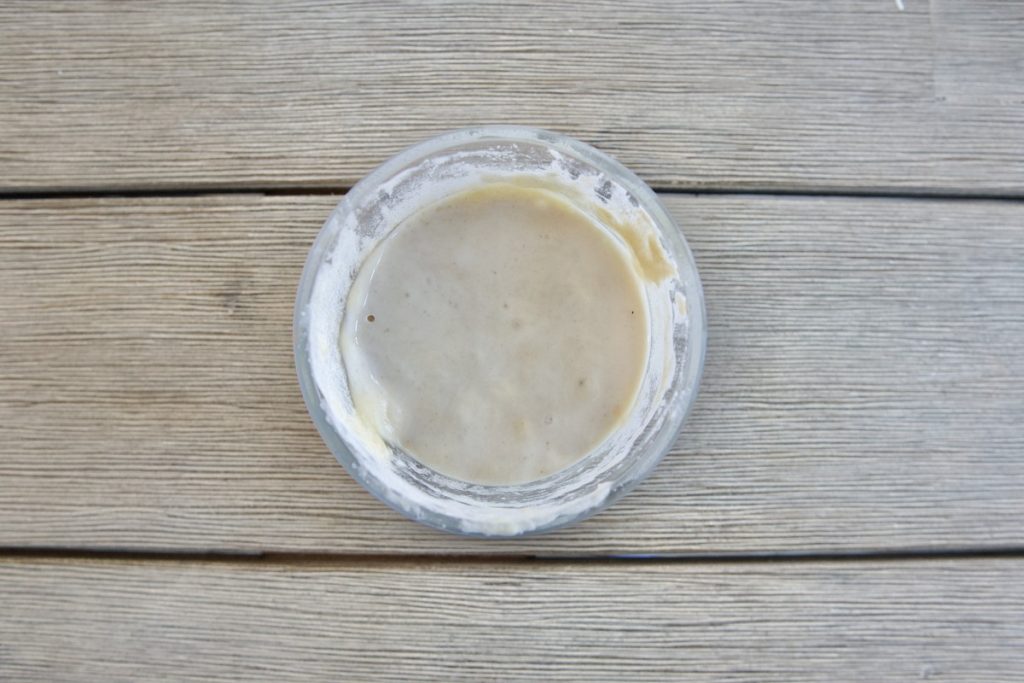
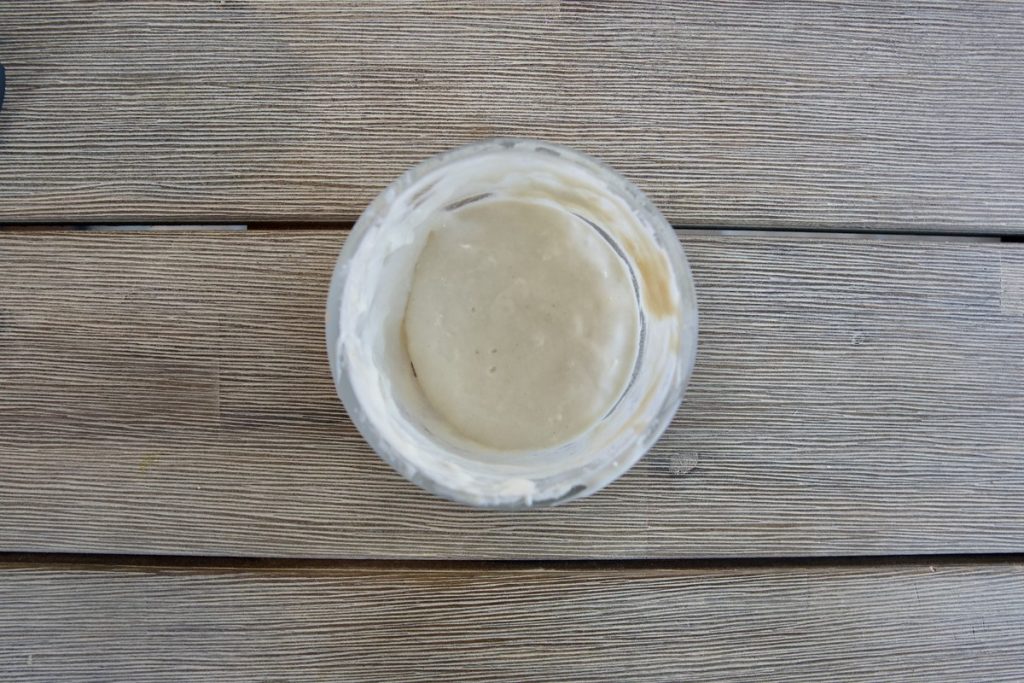
Keep going!
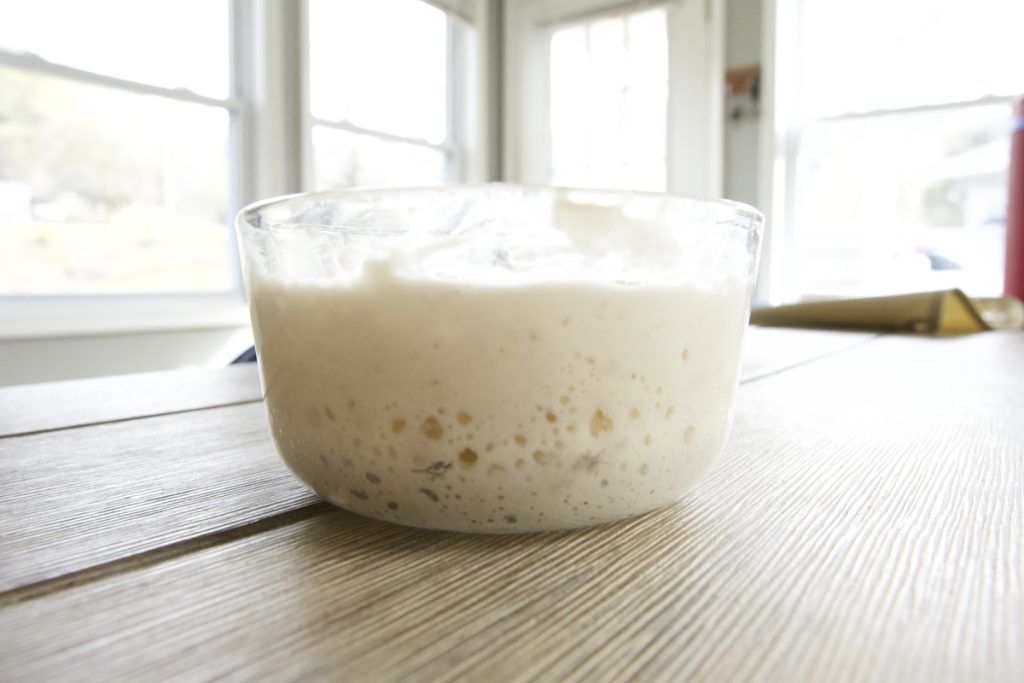
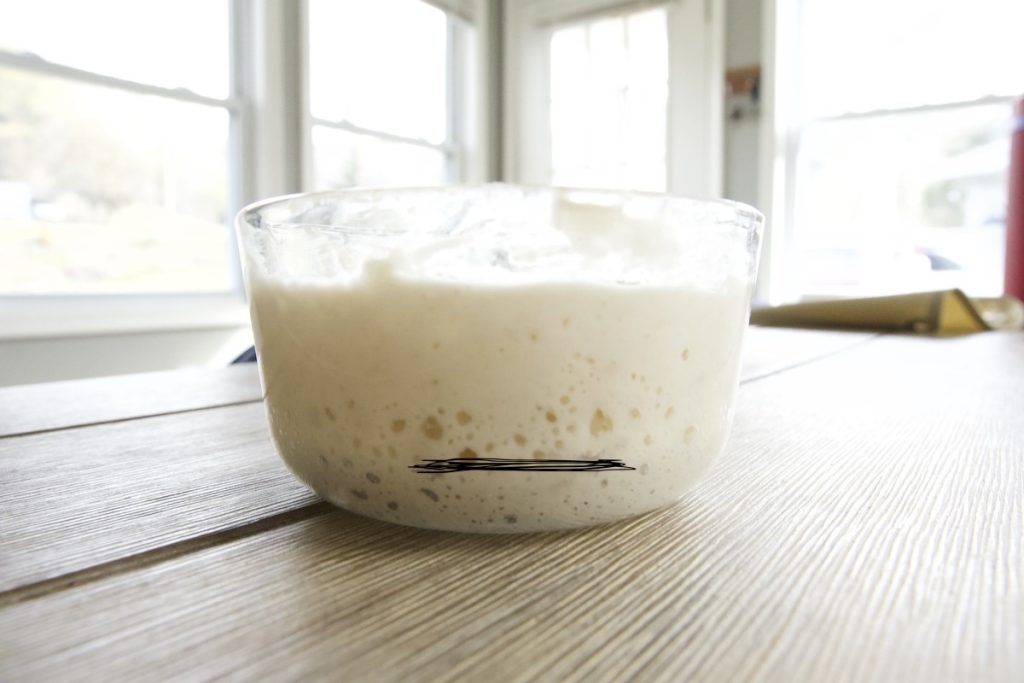
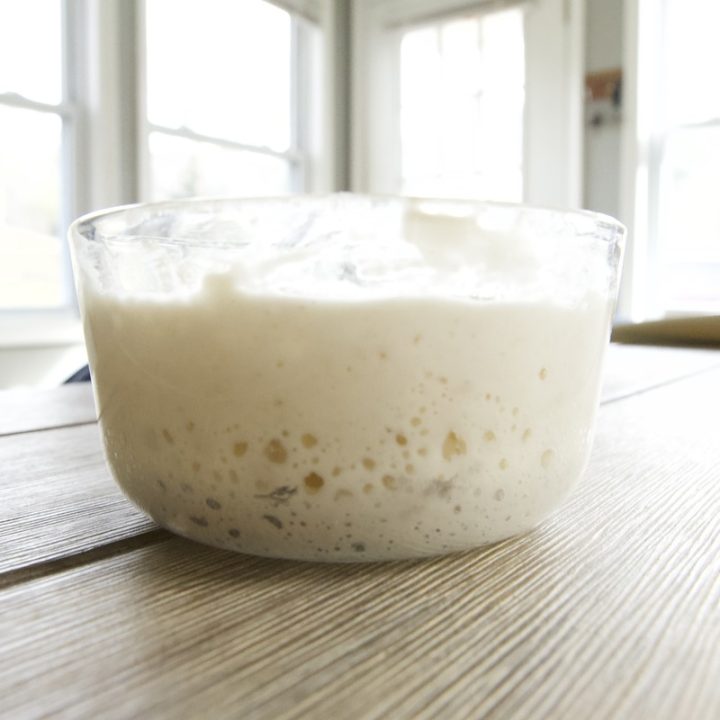
Continue repeating the steps above of discarding 1/2 of the mixture before feeding it with flour and water each day. Around day 7 or so your starter may have a lot more bubbles. At this point I would transfer my starter to a clean glass container after your discard and feeding. Then I would mark my bowl to test how much my starter is growing.
Day 7
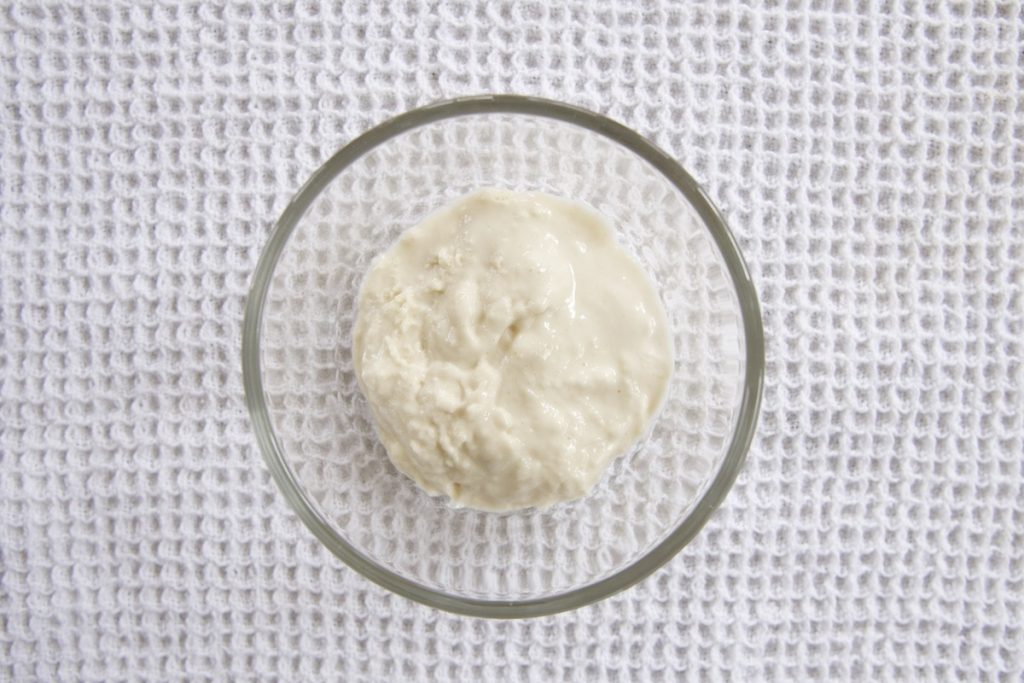
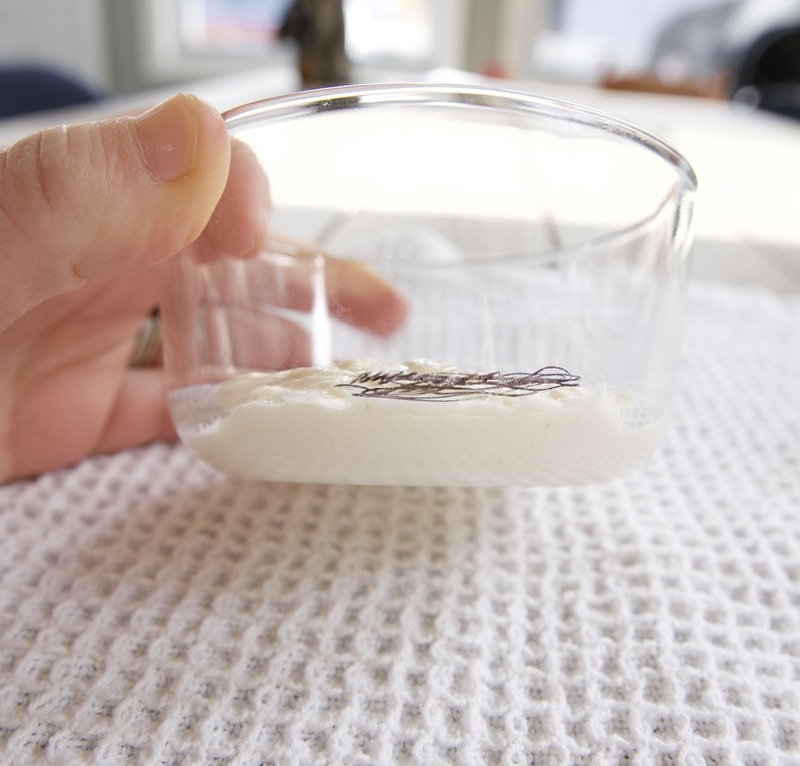
Day 8 or 9
You will most likely see some growth- maybe even doubling in size!
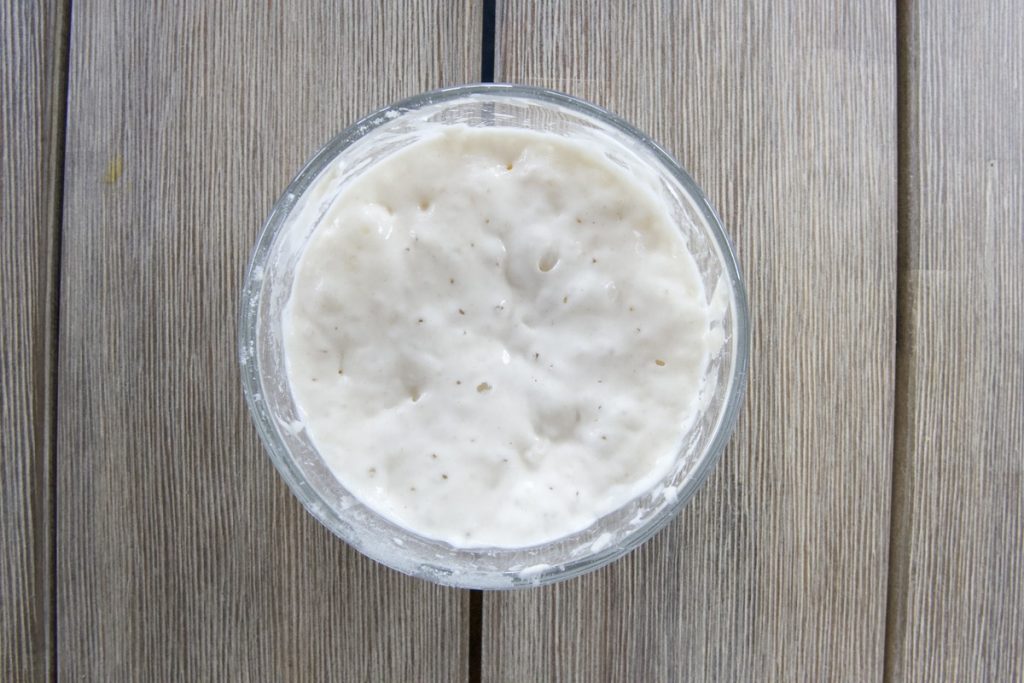
How will you know when your from scratch sourdough starter is fully developed?
- Your starter will have doubled in size over night (more on this below).
- It will have lots of bubbles in the mixture.
- It will smell like a loaf of sourdough bread, sour.
Timeline for making your sourdough starter
Day 1: In your small glass bowl combine 1 heaping tablespoon of all purpose flour with 1 tablespoon of room temperature (filtered) water. Mix together with your small icing spatula. You are going for a thick pancake-like batter consistency. Cover with tea towel and leave overnight at room temperature.
Day 2: Remove tea towel, take your small icing spatula and remove 1/2 of the mixture and throw in trash. Feed the remaining 1/2 flour and water mixture (that’s all it really is right now) with 1 heaping tablespoon of all purpose unbleached flour and 1 table spoon of room temp (filtered) water. Mix together to get that thick pancake-like batter consistency. Cover with tea towel and leave overnight at room temperature.
Days 3-6 : Repeat day 2 steps
By day 7 you should have started to see bubbles for the last day or so. This could be sooner or also not yet, do not sweat, each starter takes anywhere from 7-14 days to make, maybe longer. Keep on repeating the steps. Until your starter is activity bubbly, it appears to have doubled in size and is smelling sour, like a loaf of sourdough bread.
How will I know my sourdough starter is complete?
- Your starter will double in size. You can test this by taking your starter (after you feed it) and transferring it into a clean glass container. You will mark the height of the starter in the clean glass container with a sharpie or rubber band or hair tie. Cover and leave it out at room temperature overnight. The next morning your starter should be bubbly and you should see a residue on the glass from where the starter rose and then fell back down over night. Once your starter is more mature it will not typically fall down as far after rising.
My sourdough starter seems to be complete now what?
Once your starter has passed the test you can start baking with it! The more you use it the stronger the starter it will become. You will now want to transfer your starter into a larger glass container. I used a quart sized, wide mouth mason jar for years and it has worked amazingly. More recently my sweet mother-in-law got me this starter jar from Sourhouse and wow how fancy I feel!
Transfer your starter into the larger glass container you are going to do what is called a “power feed”, essentially you are just giving the starter a lot of food. You will give your starter around 1/2 cup of all purpose unbleached flour, stir this in a bit and then add your water. You will give the start approximately the same amount of water 1/2c however, remember you are going for the thick pancake batter consistency so add the water in slowly and mix it until you get the right consistency.
If it becomes to thin- no worries add a little more flour. Unlike other forms of baking this isn’t an exact science, just add until you get the right consistency. Once you have the “thick pancake batter” consistency, mark the level where the starter is, cover with a tea towel and leave this overnight. You are going to want to mark the starter level after feeding it, until you can consistently see the starter “doubling” and falling back down.
Simple Sourdough Starter Recipe
This simple sourdough starter recipe is going to jumpstart your sourdough baking career!
Ingredients
- All purpose unbleached flour (I like the King Arthur Brand)
- Room Temperature (Filtered) Water
- A small glass bowl (about 1c in size)
- A small icing spatula
- Tea towel
Instructions
- Day 1: In your small glass bowl combine 1 heaping tablespoon of all purpose flour with 1 tablespoon of room temperature (filtered) water. Mix together with your small icing spatula. You are going for a thick pancake-like batter consistency. Cover with tea towel and leave overnight at room temperature.
- Day 2: Remove tea towel, take your small icing spatula and remove 1/2 of the mixture and throw in trash. Feed the remaining 1/2 flour and water mixture (that's all it really is right now) with 1 heaping tablespoon of all purpose unbleached flour and 1 table spoon of room temp (filtered) water. Mix together to get that thick pancake-like batter consistency. Cover with tea towel and leave overnight at room temperature.
- Day 3: Repeat day 2 steps
- Day 4: Repeat day 2 steps
- Day 5: Repeat day 2 steps
- Day 6: Repeat day 2 steps
- By day 7 You should have started to see bubbles for the last day or so. This could be sooner or also not yet, do not sweat, each starter takes anywhere from 7-14 days to make, maybe longer. Keep on repeating the steps. Until your starter is activity bubbly, it appears to have doubled in size and is smelling sour, like a loaf of sourdough bread.
- By day 8 or 9: Your starter should be doubling in size after each feeding.
How will I know my sourdough starter is complete?
- Your starter will double in size. You can test this by taking your starter (after you feed it) and transferring it into a clean glass container. You will mark the height of the starter in the clean glass container with a sharpie or rubber band or hair tie. Cover and leave it out at room temperature overnight. The next morning your starter should be bubbly and you should see a residue on the glass from where the starter rose and then fell back down over night. Once your starter is more mature it will not typically fall down as far after rising.
You did it!
Now you have an active starter to make all things sourdough! Start simple learn an easy bread recipe- insanely easy no need sourdough bread recipe!
Notes
What do I do?
- My starter hasn't doubled in size by day 9? No worries! Room temperature can have a lot to do with your starter, move your starter to a slightly warmer room while you are making the starter. You should see your starter start to become bubbly and active in a few more days.
- What should I make first? Easy- make a simple bread recipe. I have an insanely easy no knead sourdough bread recipe!
Okay- I made my sourdough starter from scratch! Now what can I make?
Yay you are to the baking step! Your starter is doubling after giving it a power feed and now you want to make that delicious bread I have been talking about! Great- I have a super easy beginners bread recipe here. Bread, bagels, pizza dough, muffins, cinnamon rolls etc the list goes on and on for all the things you can now make with your starter! Welcome to this fun adventure. Happy Baking!
Try my sourdough recipes below!